Window tinting offers numerous benefits, such as enhanced privacy, reduced glare, and protection against harmful UV rays. However, there may come a time when you need to remove your old window tint. Knowing the proper removal process is essential whether it has faded, bubbled, or needs an update.
In this article, the expert team at Stotties Auto Detailing in Ellicott City, MD, will guide you through removing old window tints, ensuring a clean and successful process.

WHEN IS IT TIME TO REMOVE YOUR OLD WINDOW TINT?
Several indicators indicate it is time to remove your old window tint. These are some examples:
FADING
Due to exposure to sunshine, window tints can fade over time, resulting in a less pleasing appearance. Faded window tint detracts from your vehicle’s cosmetic appeal and affects its efficacy in blocking UV rays and heat.
BUBBLING AND PEELING
Suppose your window tint is bubbling or peeling. In that case, it looks unappealing, reduces visibility, and may violate local laws. Bubbles and peeling appear when the glue that holds the tint to the window fails, which can result from faulty installation or prolonged exposure to heat and moisture.
IMPAIRED FUNCTIONALITY
If your window tint is no longer providing the required level of privacy, reducing glare, or properly blocking UV rays, it may be time to replace it. The tint’s capacity to provide the intended benefits may deteriorate over time, jeopardizing your comfort and safety while driving.
WHAT IS THE PROCESS OF REMOVING OLD WINDOW TINTS?
Removing old window tints requires patience and the right tools. Here’s a step-by-step guide to help you through the process:
1. GATHER THE NECESSARY SUPPLIES
HEAT GUN OR HAIR DRYER:
Used to soften the adhesive on the tint.
RAZOR BLADE OR SCRAPER:
It helps in lifting and peeling off the tint.
AMMONIA-BASED WINDOW CLEANER:
Aids in removing adhesive residue.
LINT-FREE CLOTH:
Used for wiping and cleaning the window.
SOAPY WATER:
It helps in cleaning the window after tint removal.
2. PREPARE THE AREA
Before you begin the removal process, ensure you work in a well-ventilated area. Roll down the windows partially to prevent the heat from building up and causing damage to the interior components. Protect any sensitive surfaces, such as window switches or door panels, with plastic or cloth to avoid accidental damage.
3. HEAT THE TINT
Apply heat to the tinted window using a heat gun or hairdryer on a low setting. Move the heat source back and forth, concentrating on one section at a time. The heat will soften the adhesive, making it easier to peel off.
4. PEEL OFF THE TINT
Starting from one corner, carefully lift the tint using a razor blade or scraper. Be gentle to avoid scratching the window surface or damaging the defrost lines. Slowly peel the tint away, ensuring the adhesive layer also comes off. If the tint resists lifting, apply more heat and continue peeling.
5. REMOVE ADHESIVE RESIDUE
After removing the tint, adhesive residue may be left on the window. Spray ammonia-based window cleaner onto the window and let it sit for a few minutes. The ammonia helps break down the adhesive. Then, use a scraper or razor blade to remove any remaining adhesive. Be cautious not to apply too much pressure or use a sharp blade that could damage the window. Wipe the window clean with a lint-free cloth.
6. CLEAN THE WINDOW
To remove any remaining residue, clean the window with soapy water. Use a lint-free cloth or sponge to scrub the window surface gently. Rinse the window with clean water and dry it with a lint-free cloth.
HOW LONG DOES WINDOW TINT LAST?
Several factors, including tint quality, installation procedure, and environmental conditions, determine the lifespan of window tint. High-quality window tint can last anywhere from 5 to 10 years on average. However, variables such as prolonged direct sunlight exposure, harsh temperatures, or improper care can substantially impact its longevity.
Follow these tips to extend the life of your window tint:
- Rolling down the windows should be avoided for at least a week following installation to allow the tint to cure properly.
- Clean the tinted windows with a soft cloth and a gentle, ammonia-free solution.
- Use abrasive products or harsh chemicals sparingly, as they can ruin the tint.
- Inspect the tint regularly for signs of fading, peeling, or bubbling. Consider a professional inspection and possible replacement if any problems occur.
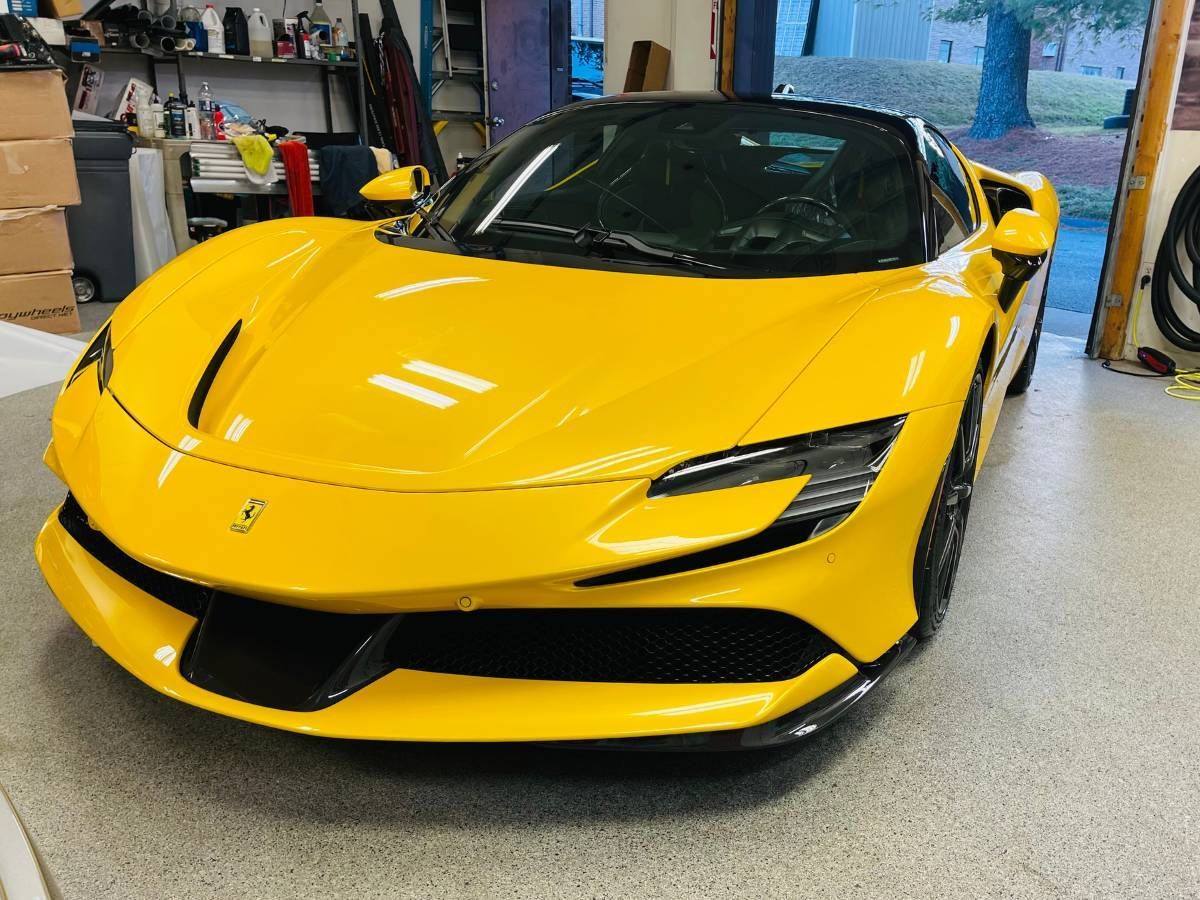
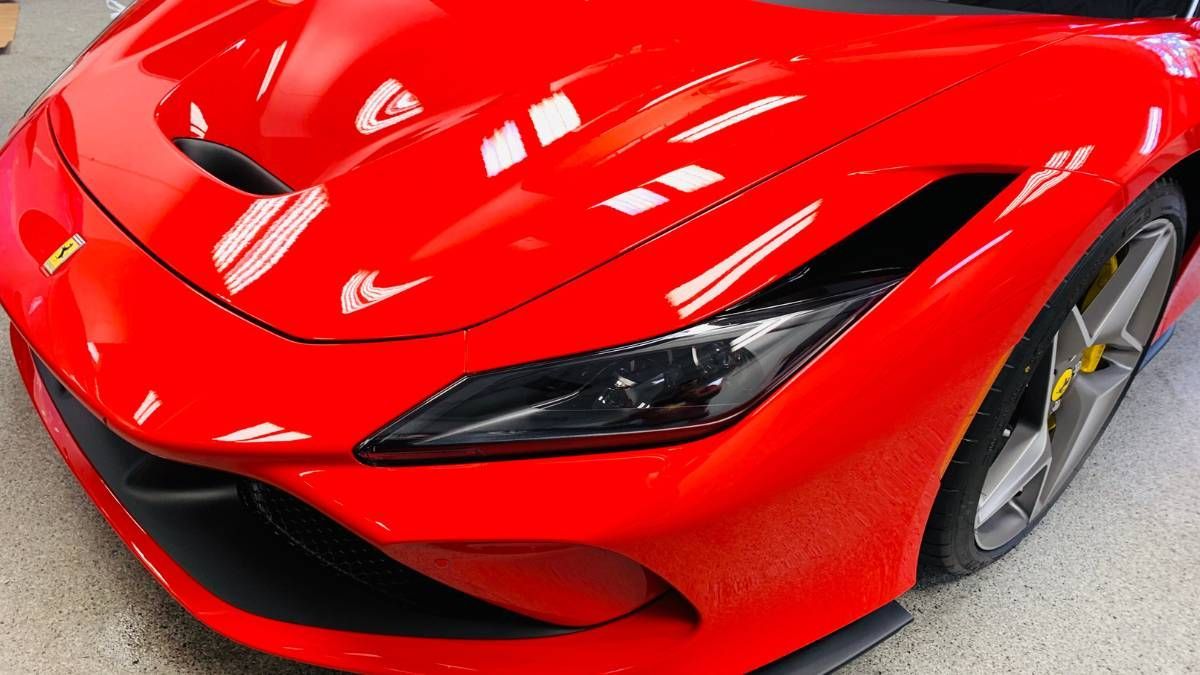
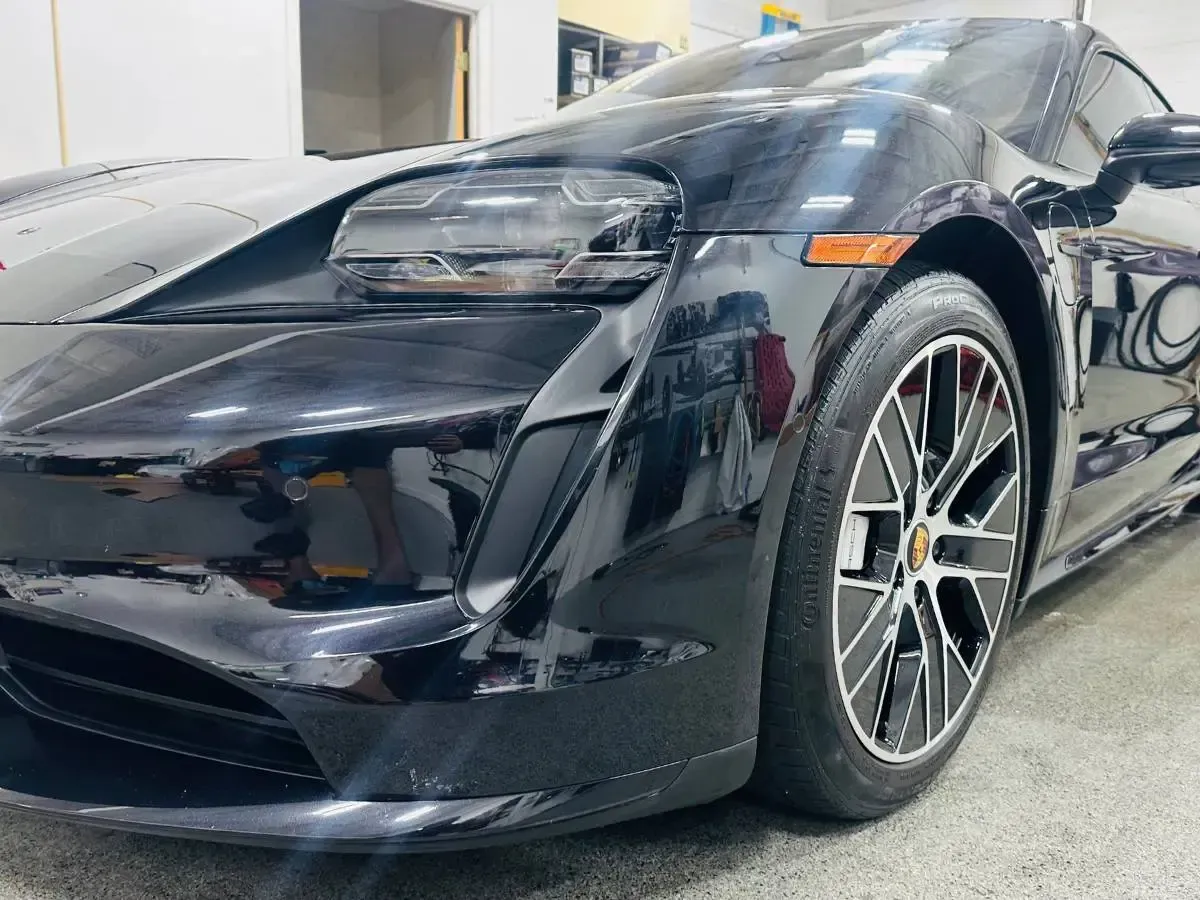
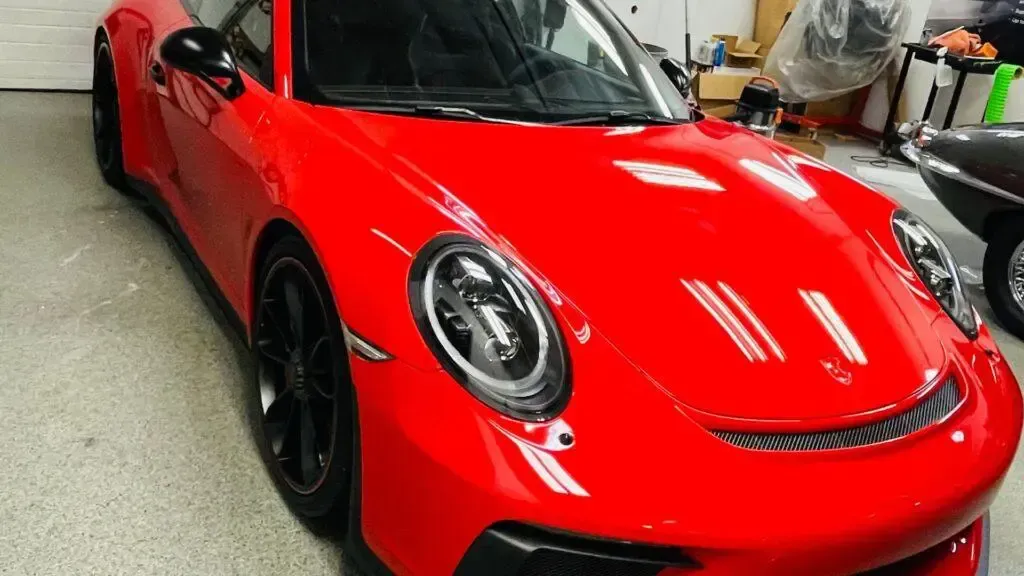
PREMIUM WINDOW TINT SERVICES IN ELLICOTT CITY, MD
Stotties Auto Detailing offers auto detailing services at 3220 Corporate Ct STE D, Ellicott City, Maryland 21042. Their team is equipped with the expertise and tools to deliver professional installations that meet your preferences and local regulations. Whether you’re looking for increased privacy, reduced glare, or protection against UV rays, Stotties Auto Detailing can help you achieve the desired outcome.
To schedule an appointment or inquire about their premium auto detailing services, contact Stotties Auto Detailing at (410) 847- 4025. Their friendly and knowledgeable staff will be happy to assist you and provide further information.